GCP Cloud — Basic Networking

Here, in this article we are going to see the basic networking architecture of GCP like VPC, Subnets, Firewalls, Routes, IAP Tunnel, Internet Gateway, Cloud NAT and Cloud Router and how to configure them to get internet access in Virtual Machines.
In GCP, we don’t have any public or private subnet like AWS has.
Steps to create the flow:

VPC It enables you to launch GCP resources into a virtual network that you’ve defined. In GCP VPCs are global while in AWS it is regional.
Create a VPC named “demovpc” and add Custom Subnets

Subnets -> It is a range of IP addresses in your VPC. In GCP, you can create subnets in different regions as VPC is global here, while in AWS the subnets needs to be different zones.
Create first subnet named as “subnet-us-central-1”, add Region as “us-central-1” and add Ipv4 Range as “10.0.1.0/24” (put the cidr range as per your need) .

Create second subnet named as “subnet-us-east-1”, add Region as “us-east-1” and add Ipv4 Range as “10.0.2.0/24” (put the Ipv4 range as per your need) and put Private Google Access as “on” (This feature allows VM instances which only have internal IP addresses (no external IP addresses) to reach the external IP addresses of Google APIs and services. Example:- The VM can access Cloud Storage bucket , even if it doesn’t have external IP.

These are the 2 subnets which we will be using in creating VM’s .

When we create our custom VPC in GCP , the default routes are automatically created. Here , you can see that Internet Gateway is already created which helps in sending the routes to the Internet. Default system routes allow instances with public IP addresses to communicate over the internet.

These are the firewall rules which are applied .These rules you can add while creating a VPC (We get the options in the VPC creation time)

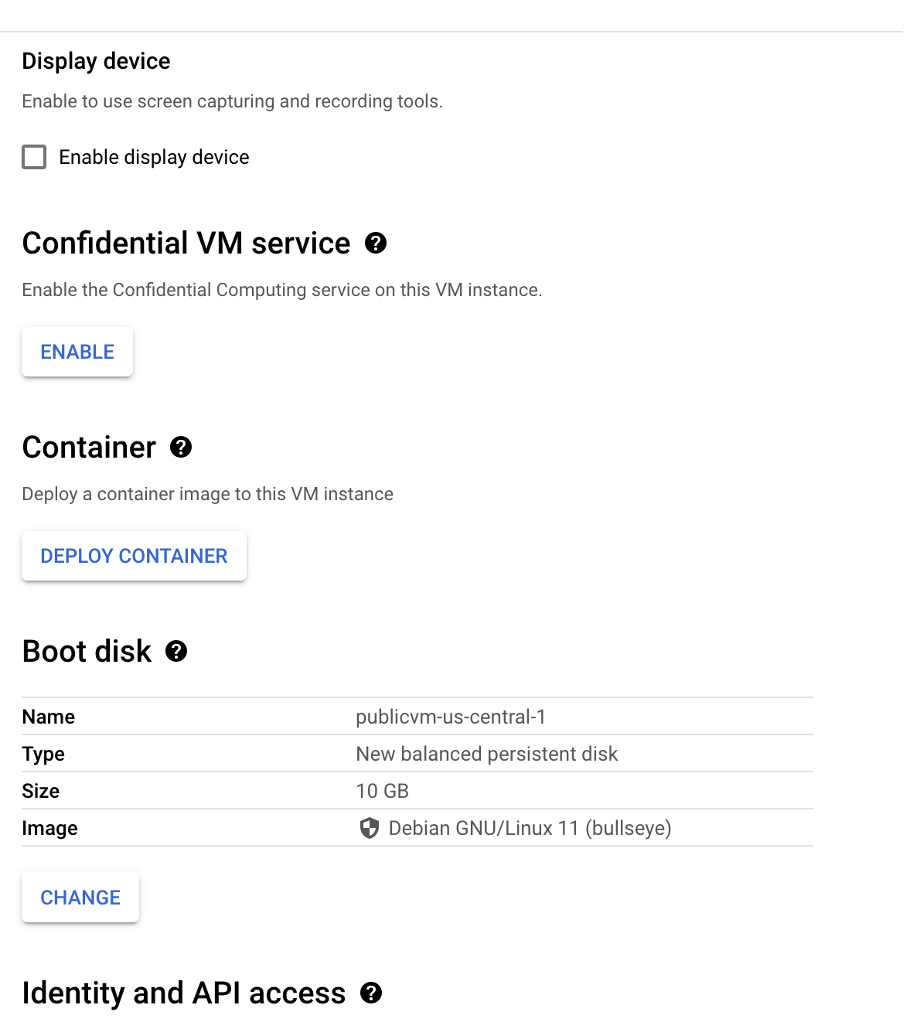


Now, we will be creating a Compute Engine with External IP named as “publicvm-us-central-1” which is created in “demovpc” with subnet “subnet-us-central-1”, add specific machine configuration depending upon your usage and we have allowed HTTP traffic (creates a firewall for HTTP) and in Advance Settings click Edit network Interface [ Choose Network: demovpc, subnet: will be automatically selected , Primary Internal IP : Choose Ephemeral, External IP : Ephemeral )and then click Create

An Instance is created with internal and external IP.

If we ssh into the Instance , and ping google.com and you can see data coming from google and data packets are transmitted.

To check the internet connectivity into instance, we have installed nginx into the instance. You can see that nginx is up and running

If we paste the External IP of the instance, we are able to see the nginx page.


Now, we will be creating a Compute Engine with no External IP named as “privatevm-us-east-1” which is created in “demovpc” with subnet “subnet-us-east-1”, add specific machine configuration depending upon your usage and in Advance Settings click Edit network Interface [ Choose Network: demovpc, subnet: will be automatically selected , Primary Internal IP : Choose Ephemeral, External IP : None ….because we don’t want any External public IP )and then click Create

An Instance is created with internal and no external IP.

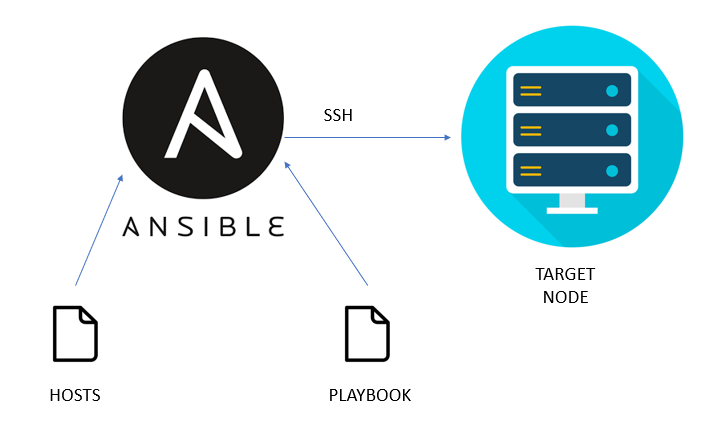
IAP TCP forwarding allows you to establish an encrypted tunnel over which you can forward SSH, RDP, and other traffic to VM instances.
We can use Identity-Aware Proxy (IAP) TCP forwarding to enable administrative access to VM instances that do not have external IP addresses or do not permit direct access over the internet.

For IAP tunnel we need to create a firewall of source IP “35.235.240.0/20” and allow tcp protocol with ssh(22) port


We created a firewall for IAP so that we can ssh into our private instance through that.


Cloud NAT (network address translation) lets resources like compute engine virtual machines without external IP addresses create outbound connections to the internet.
Here, we are creating Cloud NAT Gateway named as “demo-nat-gateway” in demovpc network in region “us-east-1” and then we created a Cloud Router named as “demo-cloudrouter” and then under Cloud NAT mapping choose “Custom” and select the subnet where VM is created with no external IP. Then choose automatic creation of NAT IP address and click create. After creation of NAT Gateway you can go to VPC External IP address you will be able to see your NAT External IP address.

Here you can see the we are able to successfully ssh into the instance using IAP tunnel and to check the internet connectivity into instance, we have installed nginx into the instance which is using Cloud NAT which implements outbound NAT in conjunction with static routes in our VPC network whose next hops are the default internet gateway.

When we curl into the VM Internal IP, we can see that nginx is up and running.

We are able to see the index page of example.com when we curl the website.


Comments
Post a Comment